
Soap Base, Uncategorized
How to Prevent Air Bubbles in Melt and Pour Soap
Jun
How to Prevent Air Bubbles in Melt and Pour Soap
Learn why bubbles appear in melt and pour soap and how to get a clean, smooth, professional soap finish using correct melting, gentle mixing, careful pouring, and alcohol spray.
Quick Answer
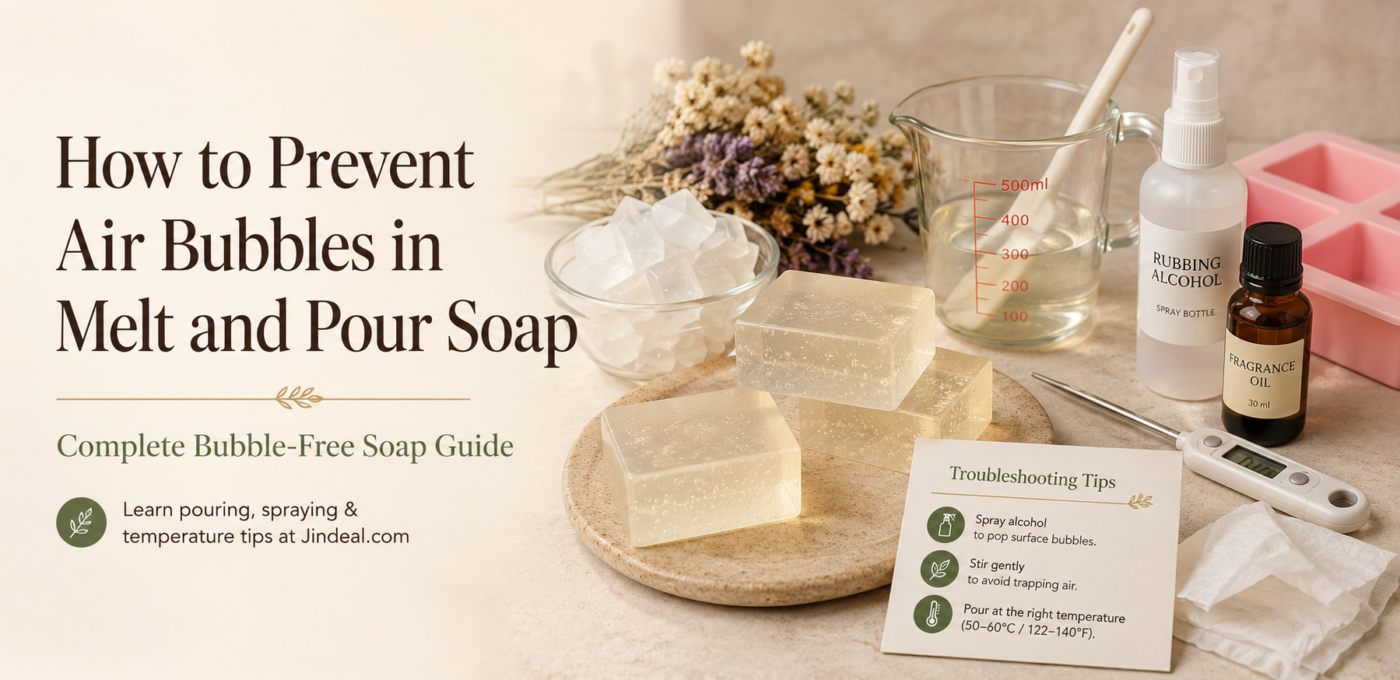
Air bubbles in melt and pour soap happen when the soap base is overheated, stirred too fast, poured from height, or trapped in detailed molds. To prevent bubbles, melt gently, stir slowly, pour carefully, tap the mold, and spray the surface with rubbing alcohol immediately after pouring.
Table of Contents
What Are Air Bubbles in Melt and Pour Soap?
Air bubbles are small holes, dots, foam marks, or trapped air pockets that appear on the surface or inside melt and pour soap. They can make handmade soap look rough, unfinished, or less premium.
Air bubbles are very common in melt and pour soap making, especially for beginners. They usually happen during melting, mixing, adding fragrance, adding colors, or pouring into silicone molds.
The good news is that bubbles can be controlled easily with proper technique. You do not need complicated equipment. Gentle handling, correct temperature, careful pouring, and rubbing alcohol spray can make a big difference.
For melt and pour soap base, silicone soap molds, fragrance oils, soap colors, mica powders, clays, herbs, rubbing alcohol spray bottles, and DIY soap-making supplies, visit Jindeal.com.
What Causes the Problem?
Air bubbles form when air gets mixed into the melted soap base or becomes trapped inside the mold. This usually happens because of fast stirring, overheating, pouring too quickly, or using detailed molds without tapping.
Common causes include:
- Stirring the melted soap base too fast
- Whisking soap like a batter
- Overheating the soap base
- Pouring soap from too much height
- Pouring too quickly into the mold
- Using detailed silicone molds with small corners
- Not spraying rubbing alcohol after pouring
- Adding fragrance oil and color too aggressively
- Reheating soap multiple times
- Using a narrow or awkward pouring container
- Not tapping the mold after pouring
- Using powders, clays, or mica without proper mixing
For example, if you stir melted soap base very fast after adding fragrance oil, tiny air bubbles can get trapped in the mixture. When the soap sets, those bubbles may show as white dots, surface holes, or foam marks.
Air Bubble Fix Chart
Use this quick chart to identify the bubble problem and the best fix.
| Bubble Problem | Likely Cause | Best Fix |
|---|---|---|
| Tiny bubbles on top | Surface air after pouring | Spray rubbing alcohol immediately after pouring |
| Foamy soap surface | Fast stirring or overheating | Stir slowly and melt gently |
| Holes inside soap | Air trapped during pouring | Pour slowly and tap mold gently |
| Bubbles in detailed mold areas | Air trapped in corners | Pour a small amount first, tilt mold, then fill |
| Bubbles after adding powder | Mica, clay, or powder not dispersed well | Pre-mix powder with small amount of melted base or oil-safe medium |
| Bubbles after remelting | Repeated heating and stirring | Reheat gently and avoid overmixing |
Step-by-Step Solution
Step 1: Cut Soap Base into Small Cubes
Cut the melt and pour soap base into small equal cubes before melting. Smaller pieces melt faster and more evenly, reducing the need for overheating or excessive stirring.
Step 2: Melt Soap Base Gently
Melt the soap base using a double boiler or microwave in short intervals. Avoid boiling or overheating the base. Overheated soap can become foamy, bubbly, and difficult to pour smoothly.
Step 3: Stir Slowly
After melting, stir slowly with a spatula or spoon. Do not whisk. Fast stirring pulls air into the soap and creates bubbles.
When adding fragrance oil, color, mica, or herbal powder, mix gently and scrape the sides of the beaker slowly.
Step 4: Pre-Mix Powders Carefully
Mica powders, clays, charcoal powder, turmeric powder, coffee powder, and herbal powders can create lumps and bubbles if added directly. Pre-mix them with a small amount of melted soap base before adding to the full batch.
Step 5: Pour Slowly and Close to the Mold
Pour the melted soap slowly and keep the pouring container close to the mold. Pouring from height can trap air and create bubbles.
For detailed molds, pour a thin layer first and gently move the mold so soap reaches all corners. Then fill the rest of the mold.
Step 6: Tap the Mold Gently
After pouring, gently tap the mold on the table to release trapped air. Do not tap too hard because it can splash soap or disturb layered designs.
Step 7: Spray Rubbing Alcohol Immediately
Spray 99% or high-strength rubbing alcohol lightly on the surface immediately after pouring. This helps break surface bubbles and gives a smoother finish.
Step 8: Let Soap Set Without Moving
After pouring and spraying, let the soap set calmly. Moving the mold too much can create wrinkles, uneven surface, or trapped air movement.
Step 9: Check and Improve Next Batch
If bubbles still appear, check your stirring speed, pouring height, mold design, alcohol spray timing, and powder mixing method. Small changes can improve the next batch.
Common Mistakes
1. Stirring Too Fast
Fast stirring is one of the biggest reasons for air bubbles. Stir slowly and gently.
2. Whisking Melted Soap Base
Soap base should not be whisked like cake batter. Whisking traps air and creates foam.
3. Overheating Soap Base
Overheated soap can foam, bubble, lose moisture, and affect final finish.
4. Pouring from Too Much Height
Pouring from height pulls air into the mold. Keep the pouring container close to the mold.
5. Not Using Alcohol Spray
Surface bubbles can often be removed with a quick spray of rubbing alcohol immediately after pouring.
6. Adding Powders Directly
Dry powders can clump and trap air. Pre-mix powders for a smoother soap finish.
7. Filling Detailed Molds Too Fast
Detailed molds trap air in corners. Pour slowly and tilt the mold to fill details properly.
8. Reheating Too Many Times
Repeated heating and stirring can increase bubbles and reduce soap quality.
9. Not Tapping the Mold
Gentle tapping helps air rise to the top before the soap sets.
10. Moving Mold After Pouring
Moving the mold too much after pouring can disturb the surface and create uneven finishing.
Expert Tips
- Cut soap base into small cubes for even melting.
- Melt slowly and avoid boiling the soap base.
- Use a spatula instead of a whisk.
- Stir fragrance oil and color gently.
- Pre-mix mica, clay, or herbal powders before adding.
- Pour slowly and close to the mold surface.
- Tap the mold gently after pouring.
- Spray rubbing alcohol immediately to break surface bubbles.
- Use flexible silicone molds for better demolding and finishing.
- Do not move the mold too much after pouring.
- Test small batches before business production.
- Buy soap base, molds, fragrance oils, colors, clays, herbs, and packaging from Jindeal.com.
FAQ
1. Why do I get air bubbles in melt and pour soap?
Air bubbles happen when air gets mixed into melted soap during fast stirring, overheating, pouring from height, or using detailed molds.
2. How do I prevent bubbles on top of soap?
Spray rubbing alcohol on the surface immediately after pouring. This helps break surface bubbles.
3. Can I use alcohol spray for melt and pour soap?
Yes, rubbing alcohol spray is commonly used to reduce bubbles on melt and pour soap surfaces and between layers.
4. What alcohol is best for soap bubbles?
Many soap makers use high-strength rubbing alcohol, commonly 99% or similar high concentration, for surface bubbles.
5. Why is my soap foamy after melting?
Foam can happen because of overheating, fast stirring, or repeated reheating. Melt gently and stir slowly.
6. Can I remove bubbles after soap hardens?
Surface bubbles are difficult to remove after hardening. You may trim or smooth the surface, but prevention during pouring is better.
7. Why are there holes inside my soap?
Holes inside soap usually come from trapped air during pouring. Pour slowly and tap the mold gently after filling.
8. Do detailed molds create more bubbles?
Yes, detailed molds can trap air in corners and small design areas. Pour slowly and tilt the mold to release trapped air.
9. Can mica powder cause bubbles?
Mica powder can create lumps or trapped air if not mixed properly. Pre-mix mica before adding it to the full soap batch.
10. Should I tap the mold after pouring soap?
Yes, gentle tapping helps trapped bubbles rise to the surface before the soap sets.
11. Can overheating cause bubbles?
Yes, overheating can make the soap base foamy and bubbly. Use gentle heat and avoid boiling.
12. Should I stir fragrance oil fast?
No. Stir fragrance oil slowly and evenly. Fast stirring can create bubbles.
13. Why do layers in soap have bubbles?
Layer bubbles happen when air remains on the surface or layers are not sprayed with alcohol before adding the next layer.
14. Can bubbles affect soap quality?
Small bubbles usually affect appearance more than performance, but too many bubbles can make soap look unprofessional.
15. Where can I buy soap-making supplies?
You can buy melt and pour soap base, silicone molds, fragrance oils, soap colors, mica powders, clays, herbal powders, packaging, and DIY supplies from Jindeal.com.
Final Words
Air bubbles in melt and pour soap are common, but they are easy to reduce with the right process. Melt the soap base gently, stir slowly, pour close to the mold, tap the mold, and spray rubbing alcohol immediately after pouring.
For melt and pour soap base, silicone molds, fragrance oils, soap colors, mica powders, clays, herbal powders, spray bottles, shrink wrap, and DIY soap-making supplies, visit Jindeal.com.
Make Smooth, Bubble-Free Soap with Jindeal.com
Shop soap bases, molds, fragrance oils, colors, clays, herbs, spray bottles, packaging, and DIY cosmetic raw materials from Jindeal.com.